| ENQUIRY FORM | SITE MAP | EMAIL US | HOME PAGE |
| Mail Merge Labels Using Word 2002/XP |
Mail merge consists of combining the information from two separate files/documents together. The standard document, which contains the fixed content (labels), is merged with an external data source (your mailing list). Mail merging allows you to produce multiple copies of a document modified for each individual recipient.
Mail merge can be used for many different tasks such as:
- Envelopes
- E-mails
- Labels
- Directory-style listings
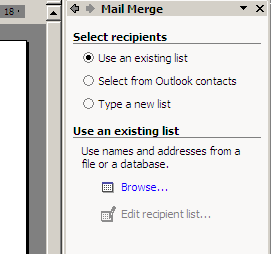
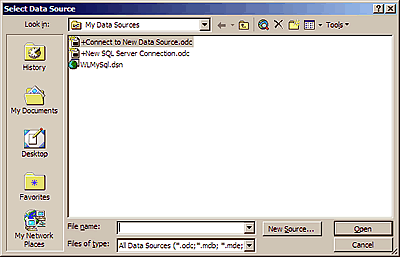
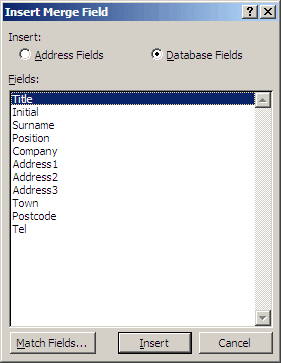
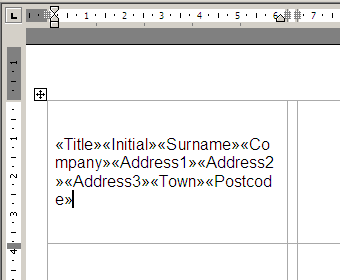
1. Open Word and make sure that a new document is on screen. Click the word “Tools” on the top toolbar, placing the cursor over the “Letters and Mailing” option. New options will appear, select “Mail Merge Wizard…” A panel will become visible on the right hand side of the screen. This panel will guide you through every step of the mail merge. Select the radio button titled “Labels”. Click “Next: Starting document” in the bottom right hand side of your screen to continue.


5. This part of the process allows you to preview the labels before completing the mail merge. If you are not happy with the layout click “Previous: Arrange your labels” to re-format the labels. When you are satisfied, progress to the next step by clicking on “Next: Complete the merge”.
6. This is the final step of the mail merge process. If you wish to print your labels immediately, select the “Print…” option. To save the file as a complete document for later use, click “EDIT INDIVIDUAL LABELS”, choose the “All” option from the “Merge to New Document” dialog box and click “OK”. After a short while you will have a new completed Word document on screen. You can now save the document as normal.
If you require further help with mail merge, try using the help facilities provided within Word 2002.